Discovering: Where Do Screen Snips Go In Windows 10?
Ever scratched your head, wondering where that perfectly captured screen snip vanished to on your Windows 10 computer? Well, you’re not alone. We’ve all been there. But today, let’s unlock this conundrum together!
Demystifying Screen Snips
Remember when we had to press a combination of keys, open Paint, paste our screenshot, and then save it? Good ol’ days, but not very efficient, were they? Windows 10, the ever-evolving OS, gifted us with the Snip & Sketch tool, a nifty utility for taking screenshots or, as they term it, ‘snips.’
So, How Does It Work?
Simply invoke the tool, select the desired area, and voilà! But, the question remains: where did it go? Let’s get straight to the crux of it.
The Default Destination
By default, screen snips taken with the Snip & Sketch tool are copied to your clipboard. This means before you can access these snips as a file, you must paste (Ctrl+V) them into an application (like Paint or Word) and save manually. Ah, the catch!
Other Paths to Consider
1. Snip & Sketch App
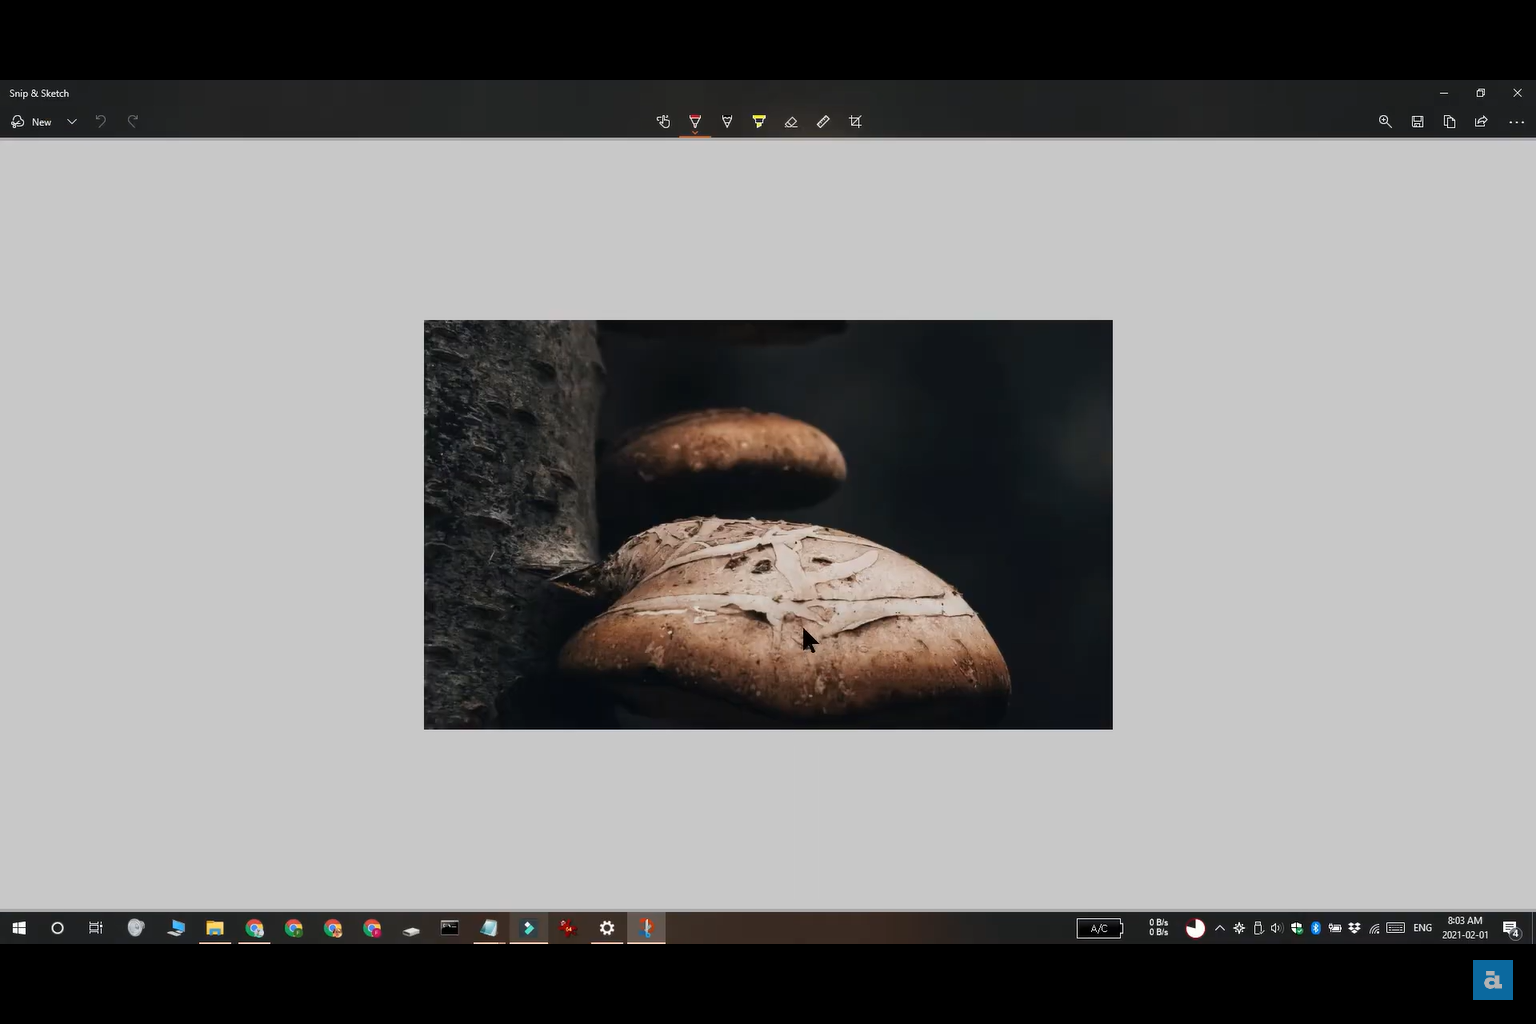
Once you capture a snip, the Snip & Sketch app opens, allowing you to annotate, save, or share your snip. To store the snip, you can click on the disk icon or choose the “File” menu and then “Save As”;
2. Screenshots Folder
Remember the good old PrintScreen method? It saves directly to the ‘Screenshots’ folder inside ‘Pictures’. But here’s the kicker, only if you pressed Windows Key + PrintScreen! Talk about mixing the old with the new;

3. Third-party Tools
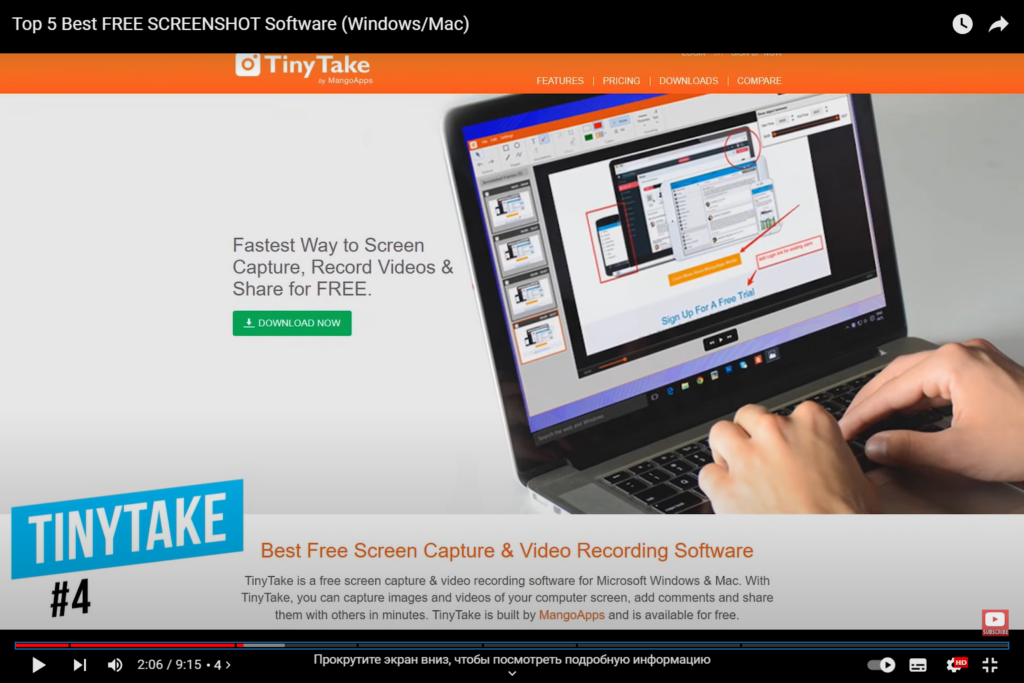
A plethora of third-party screenshot tools offer more customization options, including specifying a default save location. If you’re not strictly using the built-in options, check the settings of your chosen tool
A Handy Guide to Retrieve Lost Snips
Lost a snip? Don’t panic! Here’s a roadmap to find them:
- Clipboard History: Press Windows Key + V to invoke clipboard history. Scroll through and find your snip!;
- Temporary Files: Occasionally, unsaved files hang around here. Go to C:\Users\[YourUsername]\AppData\Local\Temp and look for recently created image files;
- Check Recycle Bin: Accidentally deleted your snip? A quick look in the Recycle Bin might just be your saving grace.
Optimizing Your Snipping Experience
To avoid future confusion, you can set up some practices:
- Use Dedicated Software: Tools like Snagit or Lightshot allow more direct control over your screenshot process, including save destinations;
- Regularly Clean Up: Set reminders to clear your clipboard or temp files. This avoids clutter and accidental deletions.
Screen Snip Tips & Tricks
- Delay Feature: Need to capture context menus or pop-ups? Use the delay feature in Snip & Sketch to get the timing just right;
- Single Window Capture: Want just one window? Try Alt + PrintScreen. It copies the current active window to your clipboard;
- Quick Access: Pin Snip & Sketch to your taskbar. Instant access!
Evolution of Snipping on Windows
Windows has come a long way in providing utilities for capturing content on the screen. From the primitive full-screen capture with the PrintScreen key on earlier Windows versions to the feature-rich Snip & Sketch on Windows 10, it’s evident that Microsoft has prioritized this tool over the years.
- PrintScreen Method: The ancestor of snipping, this key would capture the entire screen and require manual pasting into applications;
- Snipping Tool: Introduced in Windows Vista, this was a leap forward, offering various snipping modes like rectangular, window, and full-screen snips;
- Snip & Sketch: A successor to the Snipping Tool in Windows 10, this app offers a more modern UI, better integration with other Windows apps, and annotation capabilities.
Customizing Snip & Sketch
Make the tool truly yours! Windows 10 allows personalization of the Snip & Sketch tool to suit your needs.
- Keyboard Shortcuts: Set up your own snipping shortcuts via Windows Settings > Ease of Access > Keyboard;
- Quick Actions: After snipping, you can customize the quick actions – be it saving, copying to clipboard, or sharing via the app settings;
- Pen & Ink: For those with touch screens or styluses, you can adjust pen thickness, color, and even the type of ink.
Integrating with Cloud
With everything moving to the cloud, why leave our snips behind? Here’s how you can auto-save or integrate your snips with cloud services:
- OneDrive: Microsoft’s cloud storage solution offers automatic uploads of snips. Once activated, your screenshots can be set to auto-save to a dedicated OneDrive folder;
- Third-party Cloud Services: Tools like Dropbox have features where screenshots are auto-saved to a Dropbox folder, making them instantly accessible on all synced devices;
- Instant Sharing: After capturing a snip, use the share feature in Snip & Sketch to instantly share the image via email, OneNote, or other apps.
Troubleshooting Common Snip Issues
While Snip & Sketch is designed to be seamless, like any tool, it can occasionally hiccup. Let’s troubleshoot:
- Snip Not Opening: If the app doesn’t open with the keyboard shortcut, try launching it from the Start Menu. Persistent issues might require a quick app reset via Settings > Apps > Snip & Sketch > Advanced Options;
- Blurry Snips: Adjusting your device’s display settings, especially the scaling option, can sometimes cause blurry snips. Ensure it’s set optimally;
- Missing Features: Running an outdated Windows version? Some features might be absent. Regularly check for Windows updates to enjoy the latest snipping features.
Conclusion
Windows 10, with its plethora of features, sometimes buries simple functions in layers of options. While screen snips might seem elusive initially, with the right knowledge, they become easily manageable. With the tips and tricks we’ve delved into today, may your screenshot adventures be smooth sailing!
FAQs
Yes, by using third-party software or the Windows + PrintScreen method which saves to the Screenshots folder.
Ensure the ‘Screenshots’ folder inside the ‘Pictures’ library exists and isn’t corrupted.
The Snip & Sketch tool saves in .png format. For other formats, consider third-party tools.
Windows 10 also has the Snipping Tool. However, for more flexibility, consider tools like Snagit or Lightshot.
Absolutely! The Snip & Sketch tool provides annotation tools right after you take a snip.