The Simple Steps To Check SSD Size In Windows 10
Modern computers have shifted to using SSDs (Solid State Drives) for faster performance and increased reliability. Whether you’re planning to upgrade your storage or just curious about your computer’s specifications, knowing how to check the SSD size in Windows 10 can be quite handy. In this article, we’ll walk you through the steps to determine the size of your SSD, ensuring you have a clear understanding of your device’s storage capacity.
Checking SSD Size in Windows 10: A Step-by-Step Guide
Accessing the Settings Menu
- 1. Open Settings: To begin, click on the “Start” menu and select the gear-shaped “Settings” icon.
Navigating to System Information
- 1. Choose System: Within the Settings menu, click on the “System” option;
- 2. Select About: On the left-hand sidebar, click on “About.”
Discovering SSD Size
- 1. Locate Device Specifications: Scroll down until you find the “Device specifications” section;
- 2. Find Storage Capacity: Under “Device specifications,” you’ll find the “Storage capacity” field, which indicates the total size of your SSD.
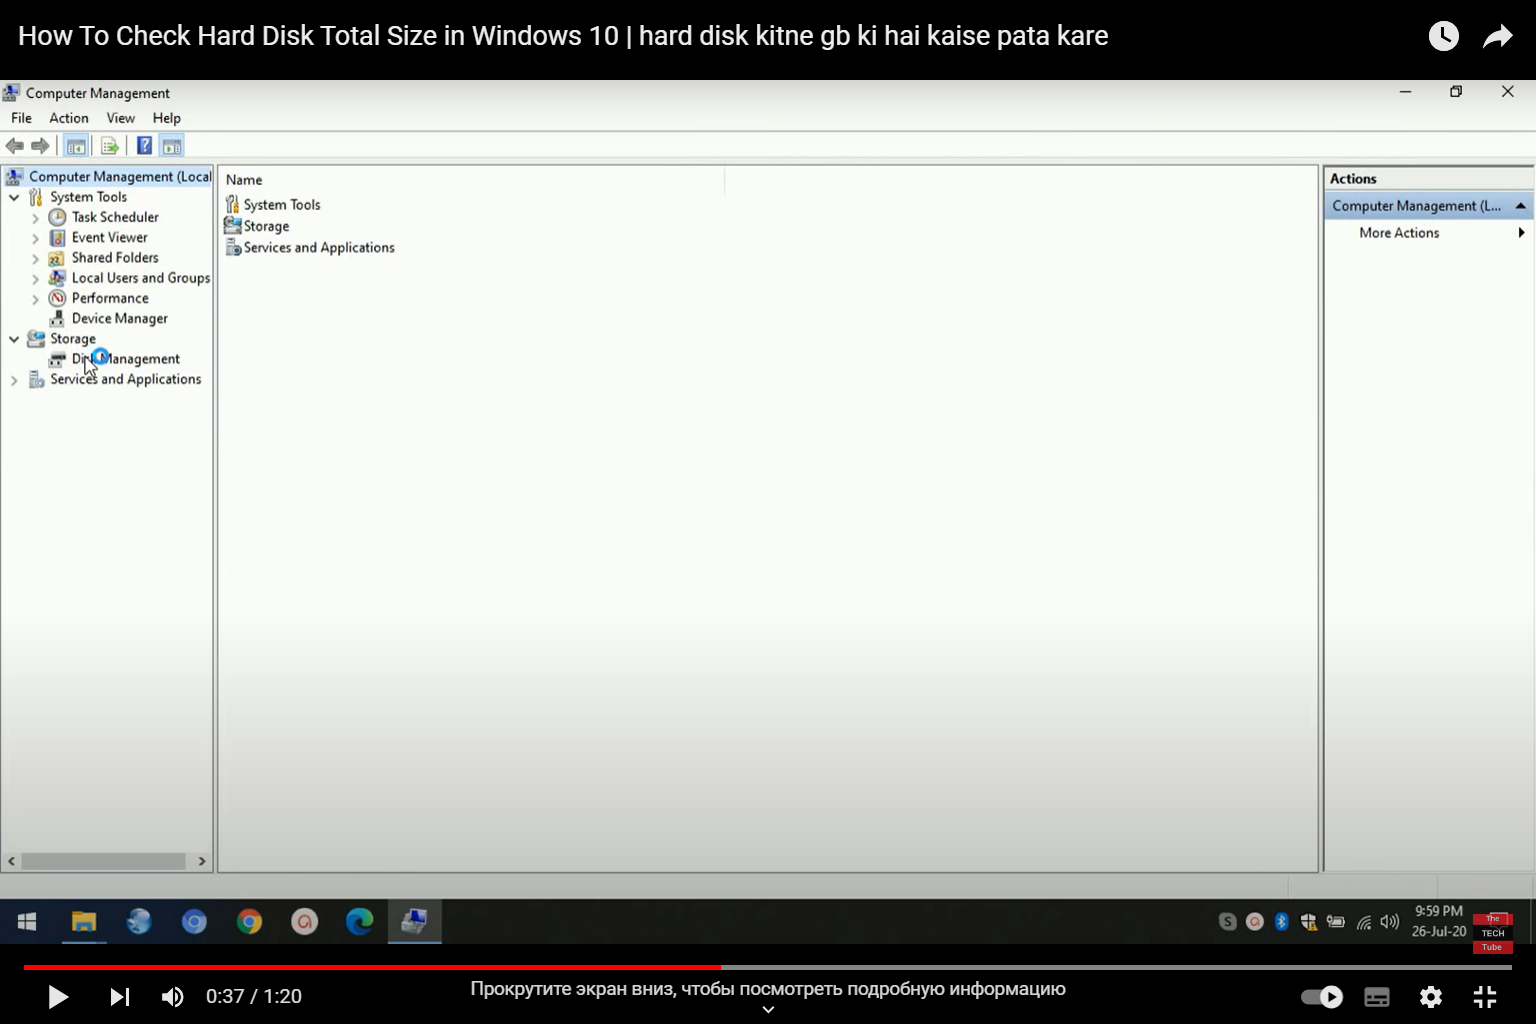
Using Command Prompt to Check SSD Size
Sometimes, utilizing the Command Prompt can provide more detailed information about your SSD.
Launching Command Prompt
- 1. Search for CMD: Type “CMD” in the Windows search bar, right-click on “Command Prompt,” and choose “Run as administrator.”
Retrieving Disk Information
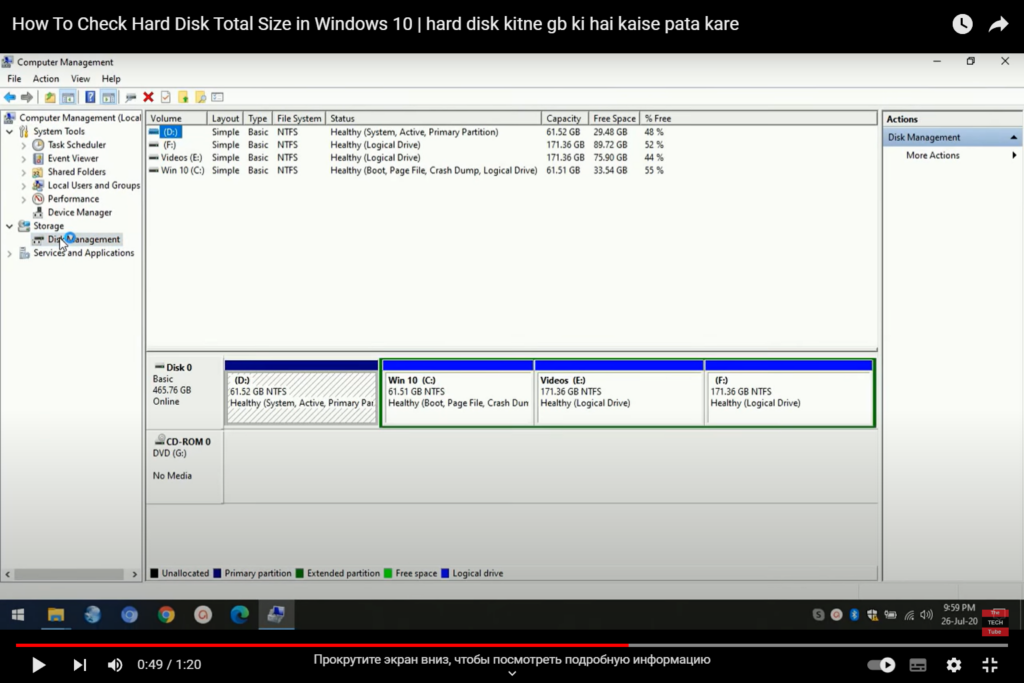
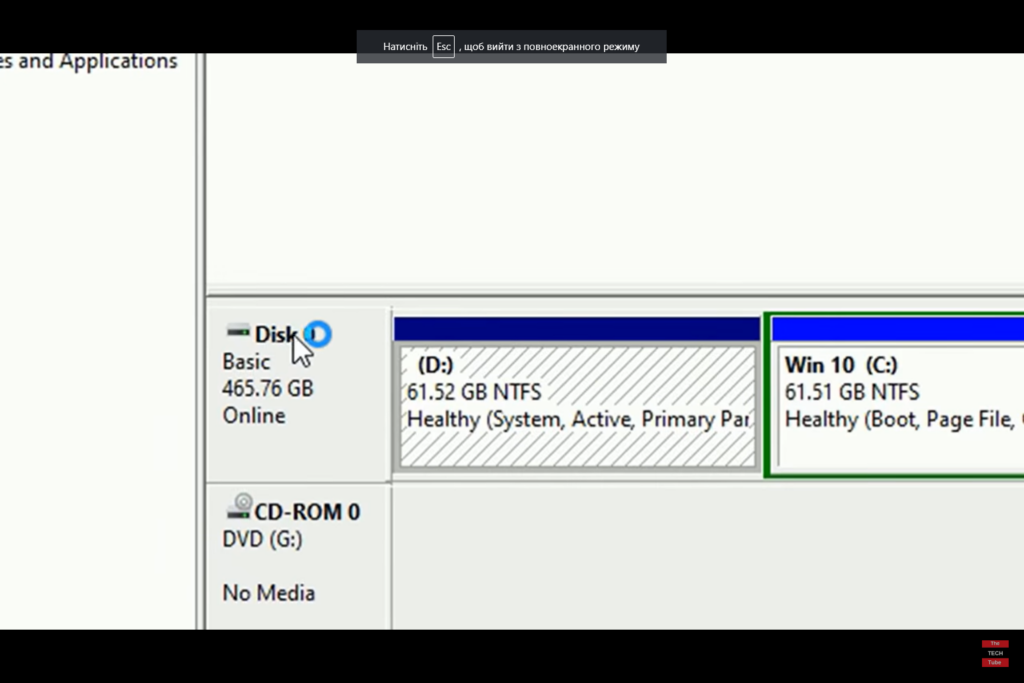
- 1. Enter Command: In the Command Prompt window, type the command wmic diskdrive get size and press Enter;
- 2. Interpreting Results: The displayed value represents the size of your SSD in bytes. You might want to convert it to a more readable format using online tools or simple calculations.
Visualizing SSD Size with Graphs
Charts can make complex information easier to understand at a glance. Here’s how to visualize your SSD size using Microsoft Excel.
Opening Excel
- 1. Launch Excel: Search for Excel in the Windows search bar and open the application.
Entering Data
- 1. Enter Data: In Column A, list the names of your drives, and in Column B, input their corresponding sizes in gigabytes.
Creating a Bar Chart
- 1. Select Data: Highlight the data in both columns;
- 2. Insert Chart: Click on the “Insert” tab, and choose a “Bar Chart.”
Interpreting the Chart
- 1. Analyze the Chart: The chart will visually represent the sizes of your drives, making it easier to compare and understand their capacities.
SSD Size
For a quick reference, here’s a comparison table showcasing common SSD sizes and their typical applications:
| SSD Size | Approximate Capacity | Common Use Cases |
|---|---|---|
| 128GB | 128 Gigabytes | Entry-level laptops |
| 256GB | 256 Gigabytes | Mainstream laptops and desktops |
| 500GB | 500 Gigabytes | High-performance laptops |
| 1TB | 1 Terabyte | Professional workstations |
| 2TB | 2 Terabytes | Content creators, gamers |
FAQs About Checking SSD Size in Windows 10
Absolutely! You can upgrade your laptop’s SSD to increase storage and speed.
SSDs tend to have smaller form factors, making them ideal for slim laptops and compact devices.
Yes, external SSDs have similar size options as internal ones and offer portable storage solutions.
While size affects storage capacity, an SSD’s performance is influenced by factors like its interface and technology.
Conclusion
Understanding your SSD’s size in Windows 10 is essential for effective storage management and upgrades. Whether you use the Settings menu or the Command Prompt, the process is straightforward. Additionally, visual aids like graphs and comparison tables make grasping the concept easier. Now that you have the knowledge, you’re equipped to make informed decisions about your storage needs.