Formatting BitLocker Encrypted Drive without Password/Key
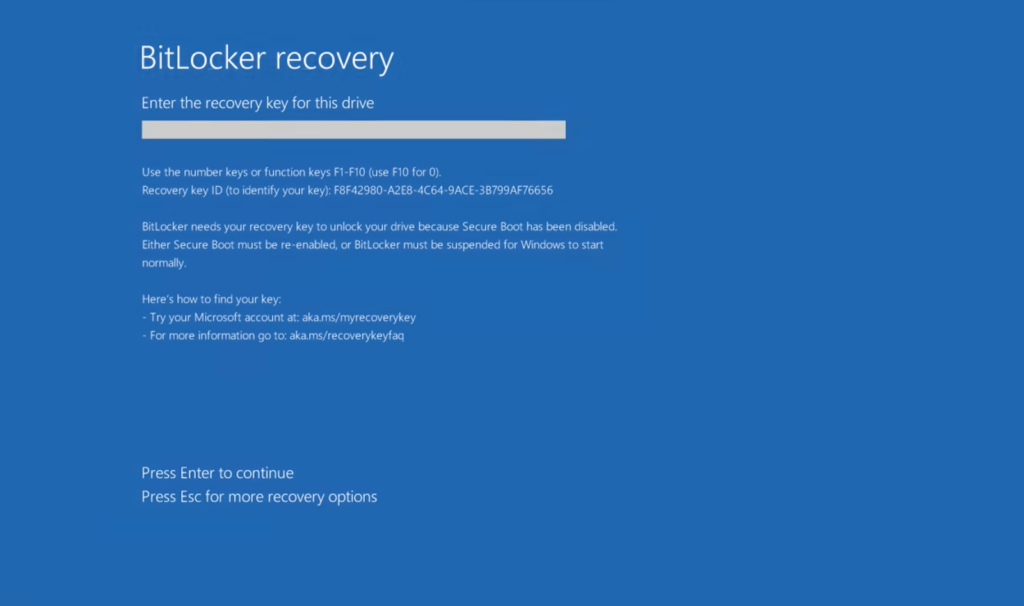
The act of formatting or wiping a conventional hard drive is commonly perceived as a straightforward procedure. However, the landscape changes when confronted with a Windows BitLocker encrypted drive, introducing intricate elements. In this scenario, the system mandates the provision of a password or recovery key for the purpose of formatting or accessing files stored within. But what if the memory of both these crucial credentials fades into obscurity? Astonishingly, the possibility of formatting a BitLocker encrypted drive persists even in the absence of these vital inputs. This article goes beyond the surface to explore three well-established methodologies, each representing a viable avenue for surmounting this seemingly insurmountable challenge.
Method 1: BitLocker Format: Command Prompt
- Step 1: Launch the Command Prompt window. Use the Windows key + X shortcut to access the Quick Access Menu, then select the “Command Prompt (Admin)” option;
- Step 2: Execute the BitLocker encrypted drive formatting. Enter the following commands sequentially, pressing Enter after each one;
- diskpart;
- list disk;
- select disk x;
- clean.
Note: Replace ‘x’ with the disk number noted earlier for the encrypted drive. Allow some time for the process to complete. Eventually, the BitLocker encrypted drive will be formatted, erasing all data, including the BitLocker encryption.
- Step 3: Allocate a new volume. Once the formatting of the BitLocker encrypted drive is finished, proceed to create a new volume using Disk Management.
Method 2: BitLocker Format: Disk Management
- Step 1: Utilize the Windows key + X shortcut, then opt for the Disk Management feature;
- Step 2: Right-click on the Windows BitLocker encrypted drive and opt for the Format choice;
- Step 3: In the ensuing popup window, pick the desired file system and unit size. (Tip: If unsure, leaving the default settings unchanged is advisable.) Click OK to proceed;
- Step 4: A window will surface, prompting you to create a backup of your data before proceeding with the formatting process. Confirm your intent by clicking the “OK” button. Ultimately, you will have successfully formatted the BitLocker encrypted drive, all achieved without the need for a password or recovery key.
Method 3: BitLocker Format: File Explorer
- Step 1: Initiate the File Explorer window by using the Windows key + E shortcut;
- Step 2: Locate and select “This PC” (or “Computer” in Windows 7) on the left-hand panel;
- Step 3: Right-click on the BitLocker-encrypted drive and opt for the Format choice;
- Step 4: Within the ensuing popup window, determine the preferred file system and unit size. (Hint: If uncertain, restore the device defaults by clicking the respective button.) Click the Start button to initiate the process;
- Step 5: Confirm your choice by clicking OK on the subsequent popup window. Ultimately, the formatting of the BitLocker encrypted drive is complete. With that, the procedure comes to an end.
Conclusion
The methods outlined above offer guidance on formatting a BitLocker encrypted drive without the need for a password or recovery key. It’s important to emphasize that implementing these techniques results in the comprehensive deletion of all data stored on the drive, encompassing the removal of the BitLocker encryption layer as well. It’s advised to exercise thoughtful consideration and deliberation before proceeding with any of the operations delineated earlier. This precaution ensures that you fully comprehend the irreversible consequences that accompany these actions, enabling you to make an informed and well-weighed decision regarding the formatting process.