How to Uninstall Windows Live Mail on Windows 10
If you’re considering the uninstallation of Windows Live Mail due to its waning reliability as an email client, it’s crucial to note that Microsoft terminated its support for Windows Live Mail back in November 2014. While Windows 10 introduced a new email client named “Mail,” its functionality is restricted and its ability to effectively block spam remains lacking.
As you continue through this article, you’ll discover alternative pathways, including the option to transition to Gmail – a superior choice for managing your email requirements.
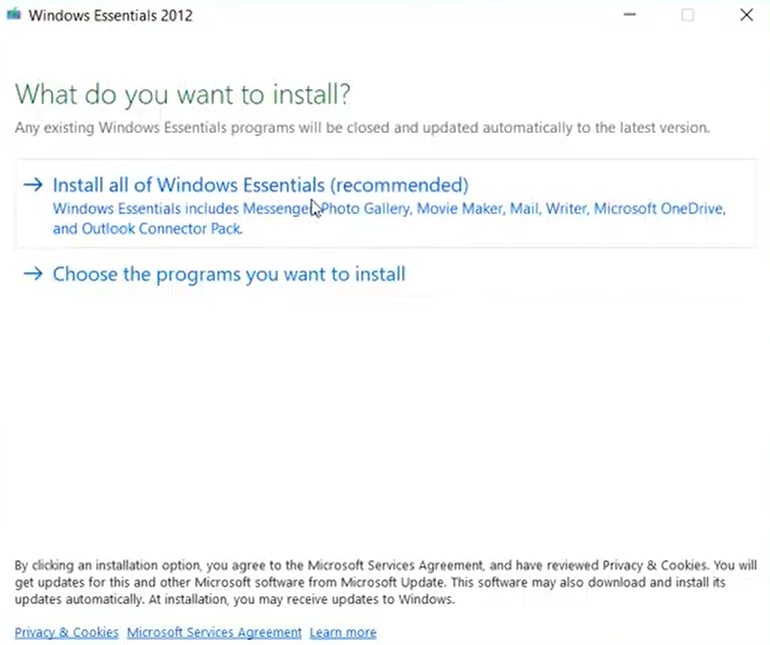
It’s important to understand that Windows Live Mail is a component of the larger suite known as Windows Live Essentials.
Uninstalling Windows Live Mail (Windows Live Essentials)
- Access the Start menu and locate Windows Live Mail by searching for it;
- Right-click on Windows Live Mail and choose the Uninstall option;
- In the list of programs available for uninstallation or modification, find Windows Live Essentials, and click Uninstall/Change;
- Opt to Remove one or more Windows Live programs;
- Choose Mail along with any other apps you wish to uninstall, and then click Uninstall. For a complete removal of Windows Live Essentials, select all associated apps;
- Adhere to the on-screen prompts to successfully uninstall Windows Live Mail from your computer.
Conclusion
To sum up, the outlined step-by-step process empowers you to effortlessly eliminate Windows Live Mail from your system. Embrace this opportunity to part ways with an obsolete email client and open the door to discovering superior alternatives that can better cater to your diverse email requirements.